Manage Devices and Credentials
Let's use the Golioth Console to create a new device.
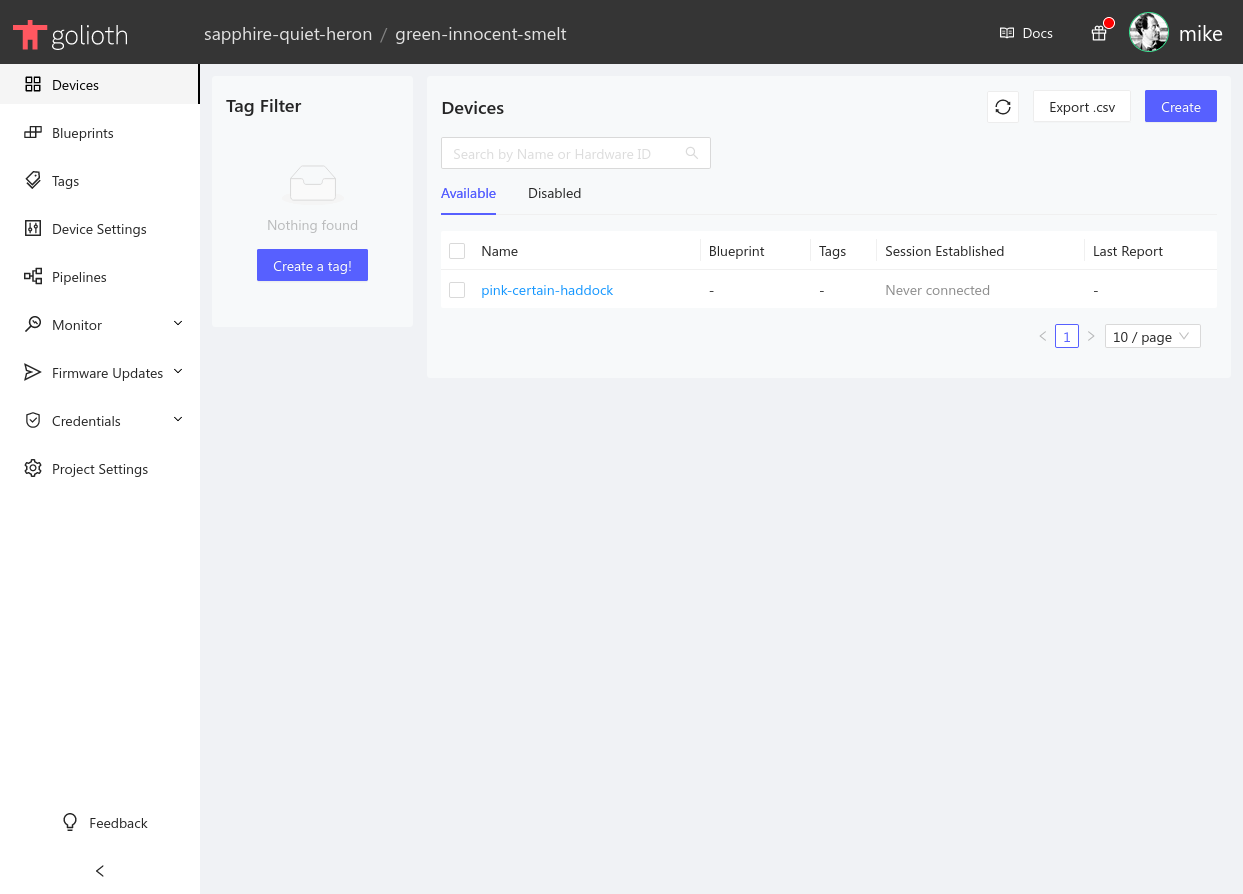
In the center at the top of the console window the currently selected project is shown. On the left sidebar we can use the Devices option to list this project's devices. Here we see the device that was created by the quickstart wizard.
Create a new device
Click the Create button in the upper right to create a new device.
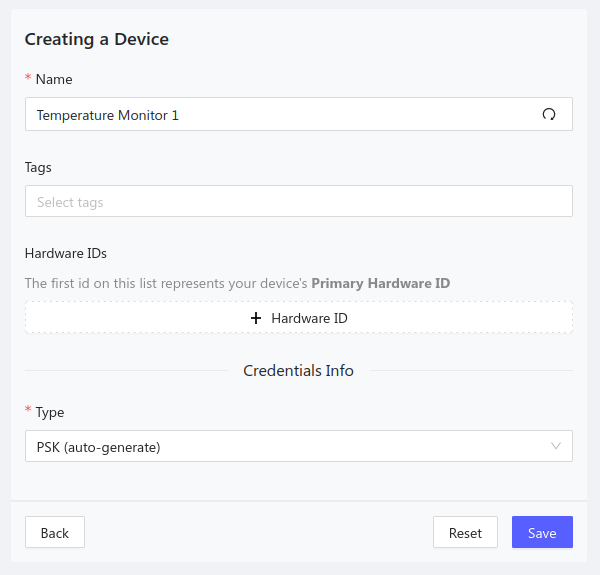
1. Device name
Enter a name for your device
2. Tags, Blueprints, and hardware ID
There are three optional values that we are not setting for this example
- Tags: Group different types of devices together with your project
- Blueprints: A designator used to identify device types for Over-the-Air updates (OTA)
- Hardware ID: A unique hardware ID that you can choose to set to meet your project's needs (MAC address, serial number, etc.)
3. Generate Credentials
By default, a PSK-ID and PSK will be automatically generated for this device. If you wish to set these manually, you may choose that option from the dropdown menu.
New device summary
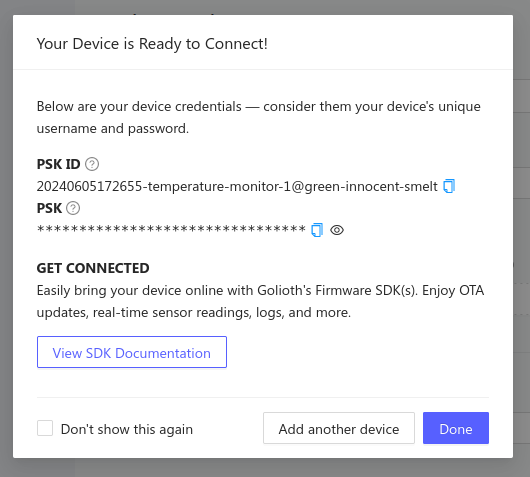
After clicking save, your device is created and a new device summary is displayed.
Retrieving Device Credentials
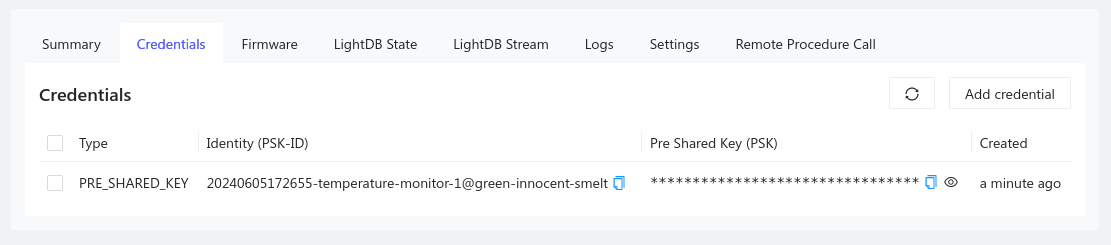
To access device credentials, select the Credentials tab from the device view in the Golioth Console. The PSK-ID and PSK (the Identity and the Pre Shared Key) are what your device needs to authenticate and connect to the Golioth Cloud. You can always return to this panel in the device details to retrieve these values.
When getting to know Golioth, Pre-Shared Key (PSK) authentication is demonstrated as a happy path to get a demo device running right away. However, Golioth supports and recommends using X509 certificate (ECDSA) for your production devices.
- Firmware Section: Certificate Authentication
Congratulations, you're ready to move on to selecting hardware!